Easy Way To Make Awesome Channel Headers (Free)
Here is how to make channel headers for your Discord server. You may know these as embed headers, embed banners, and whatnot. However, do not fret as this is an easy way you can make all types of those in a matter of minutes with this step by step guide.

Here is how to make channel headers for your Discord server. You may know these as embed headers, embed banners, and whatnot. However, do not fret as this is an easy way you can make all types of those in a matter of minutes with this step by step guide.
Ready to make art? Let's start!
Before you get started:
- We will be using Pixlr throughout this tutorial.
- Read the The Pixlr Guide to get a basic idea of the Pixlr interface.
- Fonts used: Bebas Neue, Aero.
Getting started
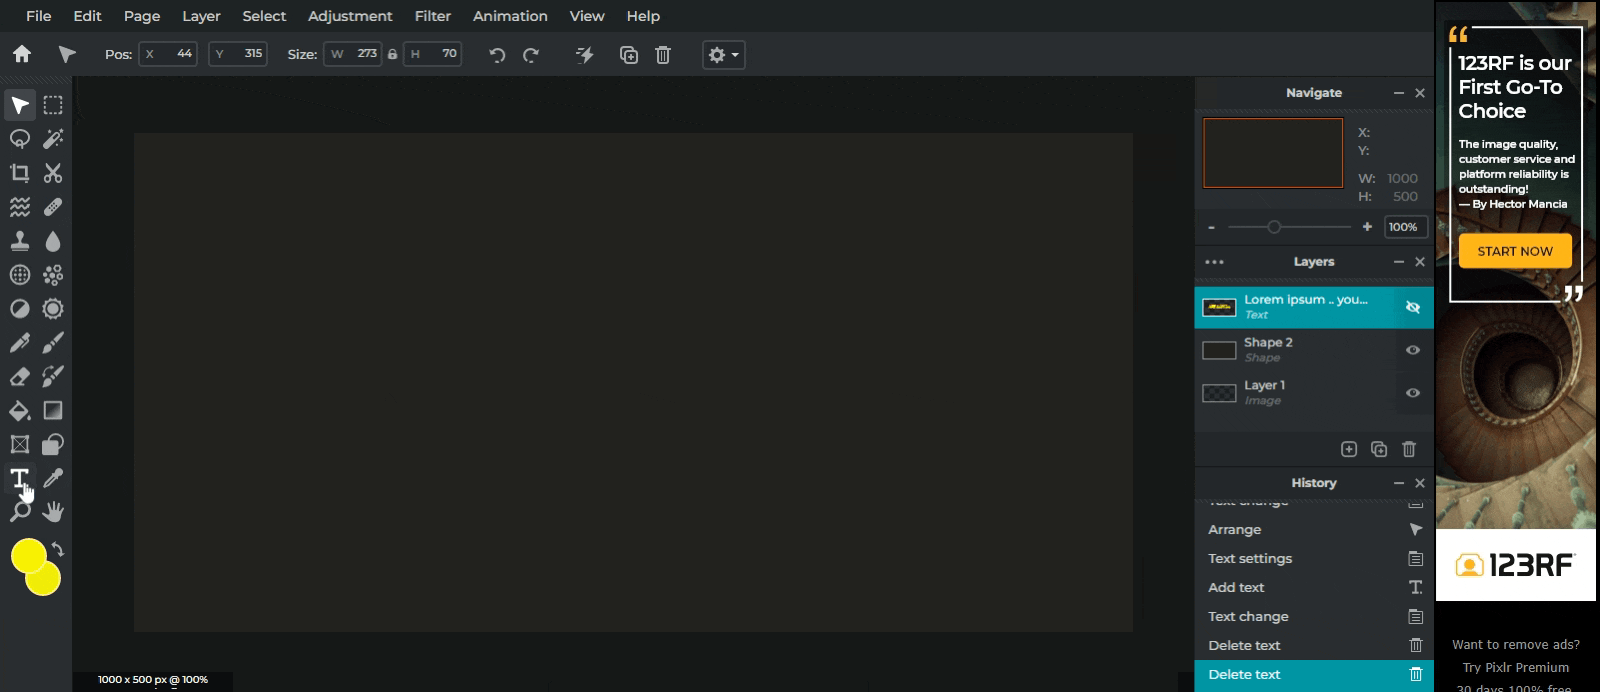
First, we need to visit Pixlr’s website and create a 1000x500 canvas board. We’re going to create our headers transparently, but for the sake of this guide, we will be using a dark-coloured shape layer underneath, for better visibility.
Choosing the phrase
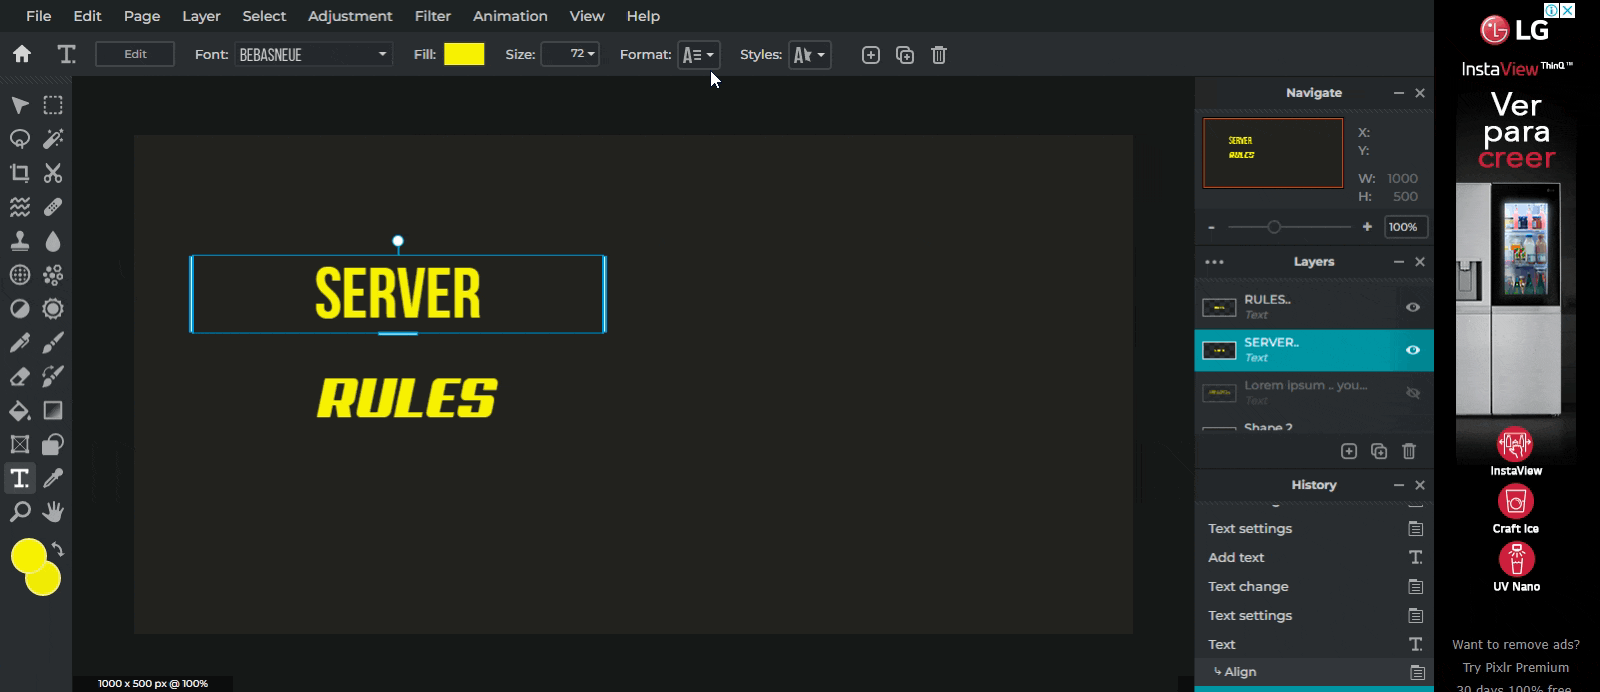
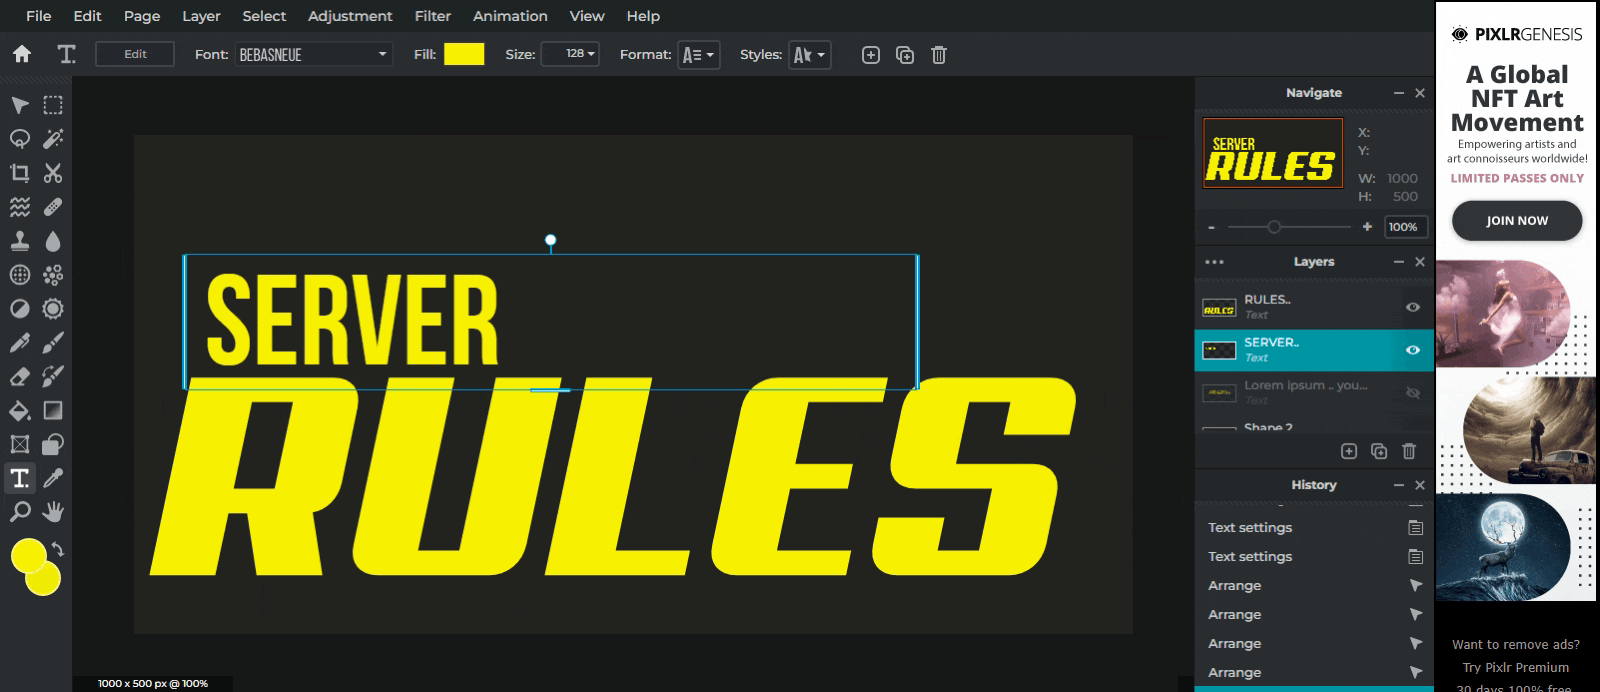
Next, we will add our text, which should be short and preferably less than 3 words. For this, we will be using the “Text tool”, which can be found in the toolbar on the left.

We will divide our text into two separate blocks.
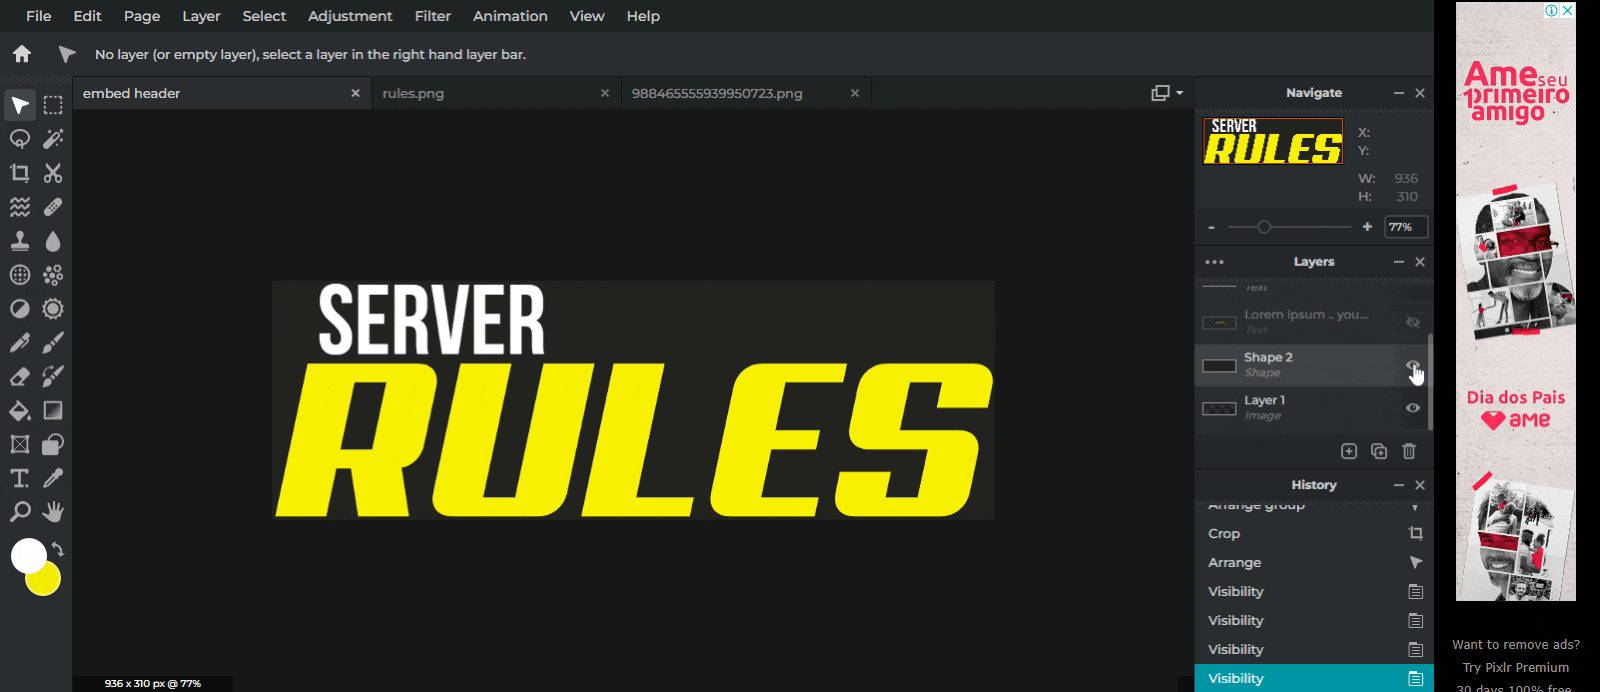
I chose “Server Rules” as the text, “Server” being block 1 with Bebas Neue and “Rules” being block 2, with Aero.
Resizing and aligning text
Let us place a one-word block in the frame followed by the other on top of the first block, aligning them perfectly.
We will resize the upper block by dragging any one corner down to make it smaller, this makes the text below seem loud and clear. I am using left alignment on both blocks.
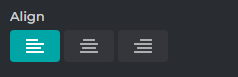
This is how where we change alignments on pixlr: Format/Align
Talking about colours
We keep the upper text white, and the lower text of a bright colour like yellow, nitro purple or any colour of your choice, we stick to white and yellow. I will use white for Block 1 and yellow for Block 2 .
Almost there…
Adding final touch.
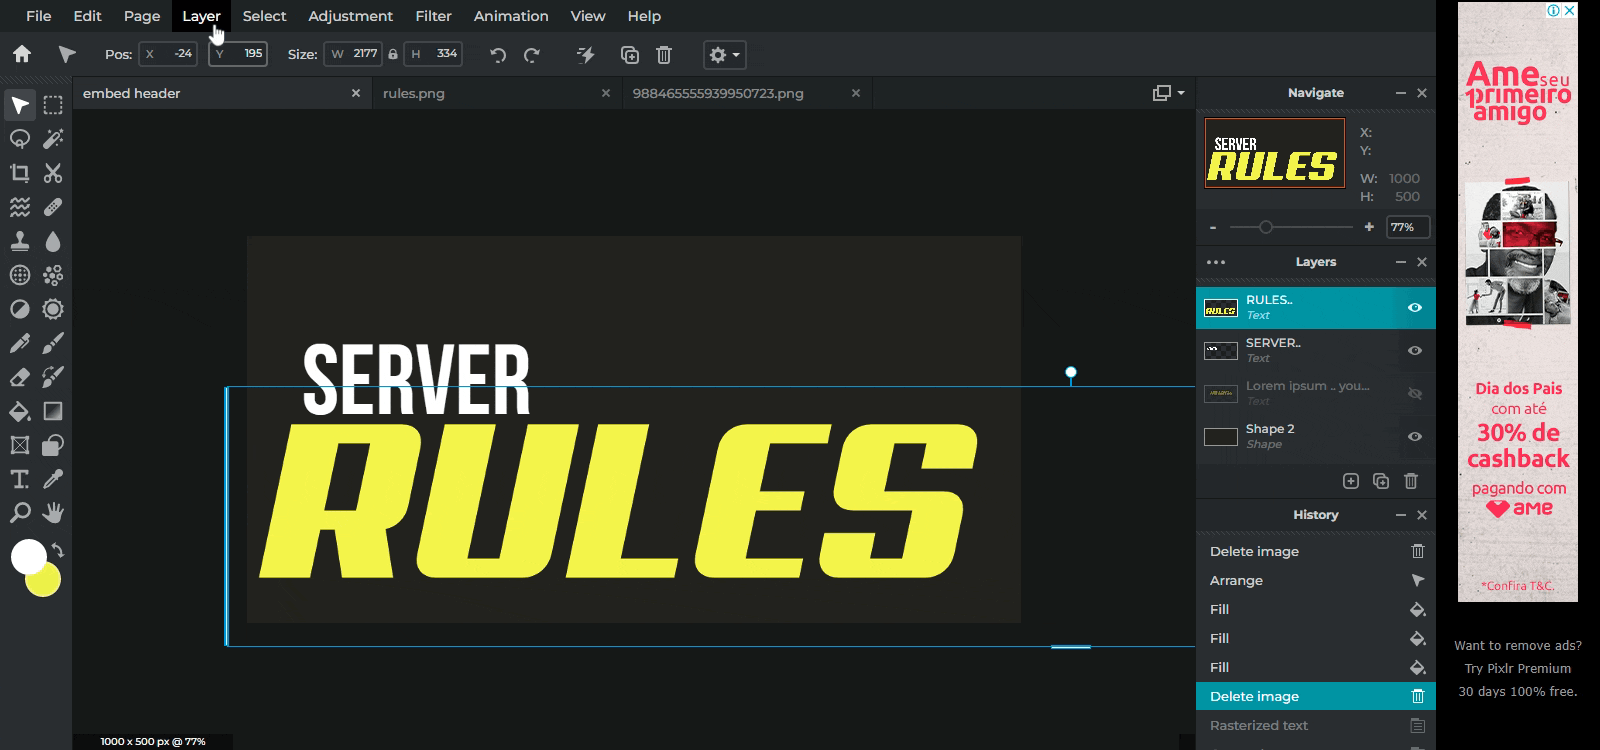
We will rasterize the layer from (Layer/ Rasterize Layer) to add some final glows (Filter/ Outer Glow) to the bottom text.
Crop, remove background and export.
Here is a tricky part, with glows you need to leave ample space on the left right and lower sides, so that you don’t end up cutting the glow spread.
Without the glow, our main goal will be to remove as much as white space possible.
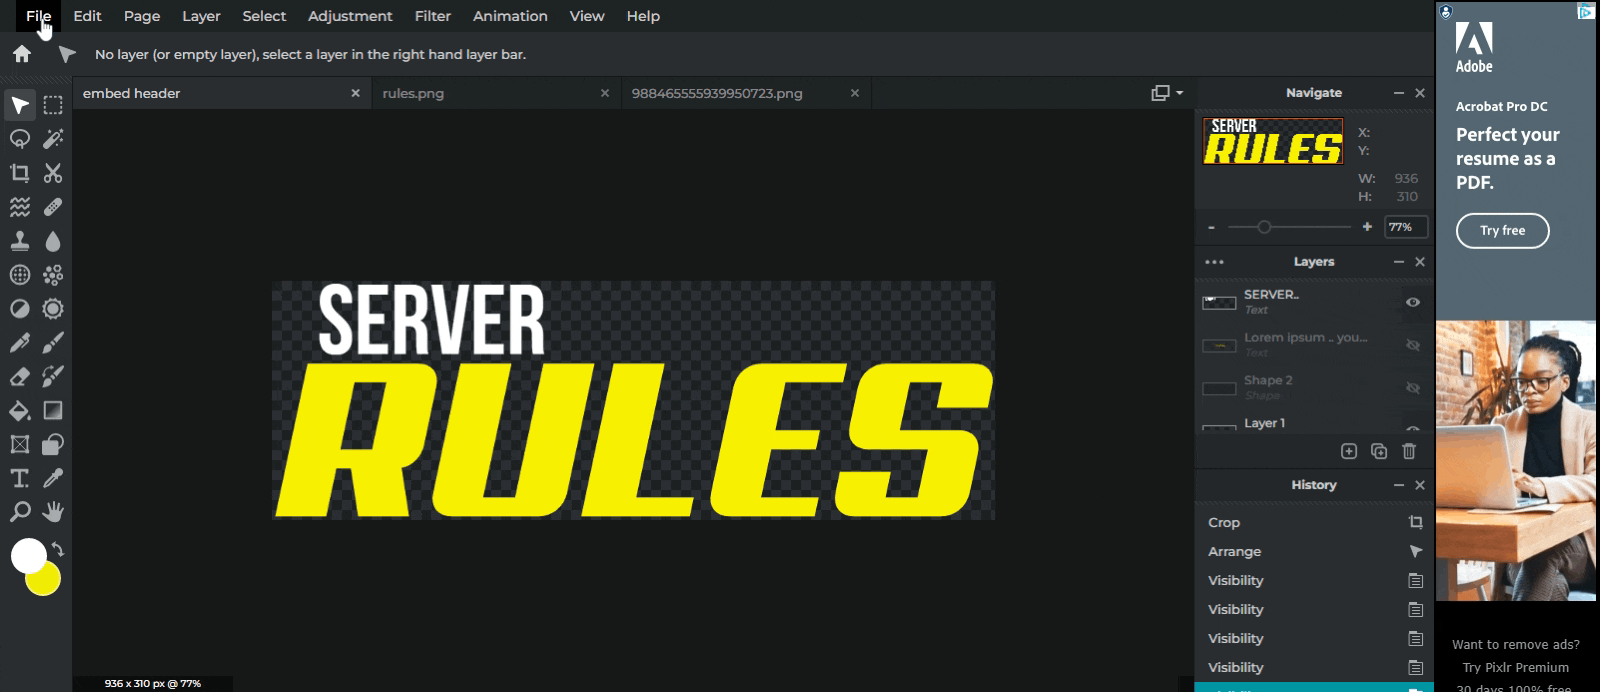
Lastly we hide our background layer.
And File/Export/Quick export as png.
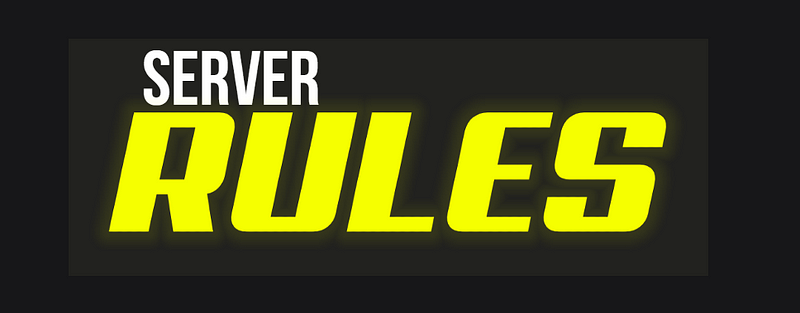
Your embed banner is ready!
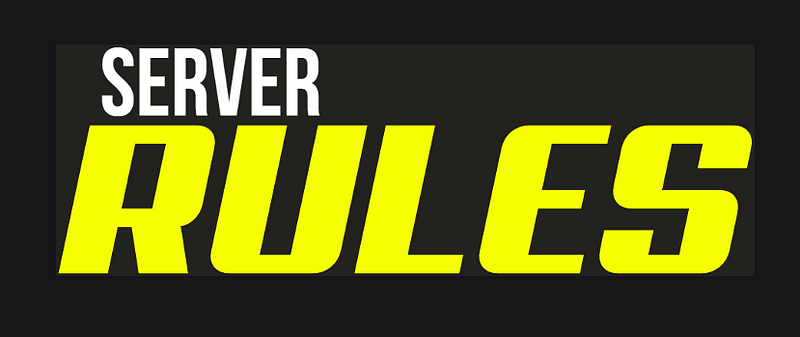
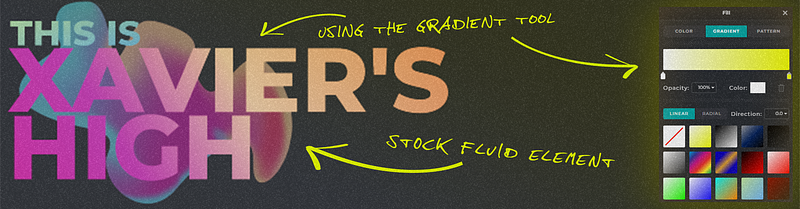
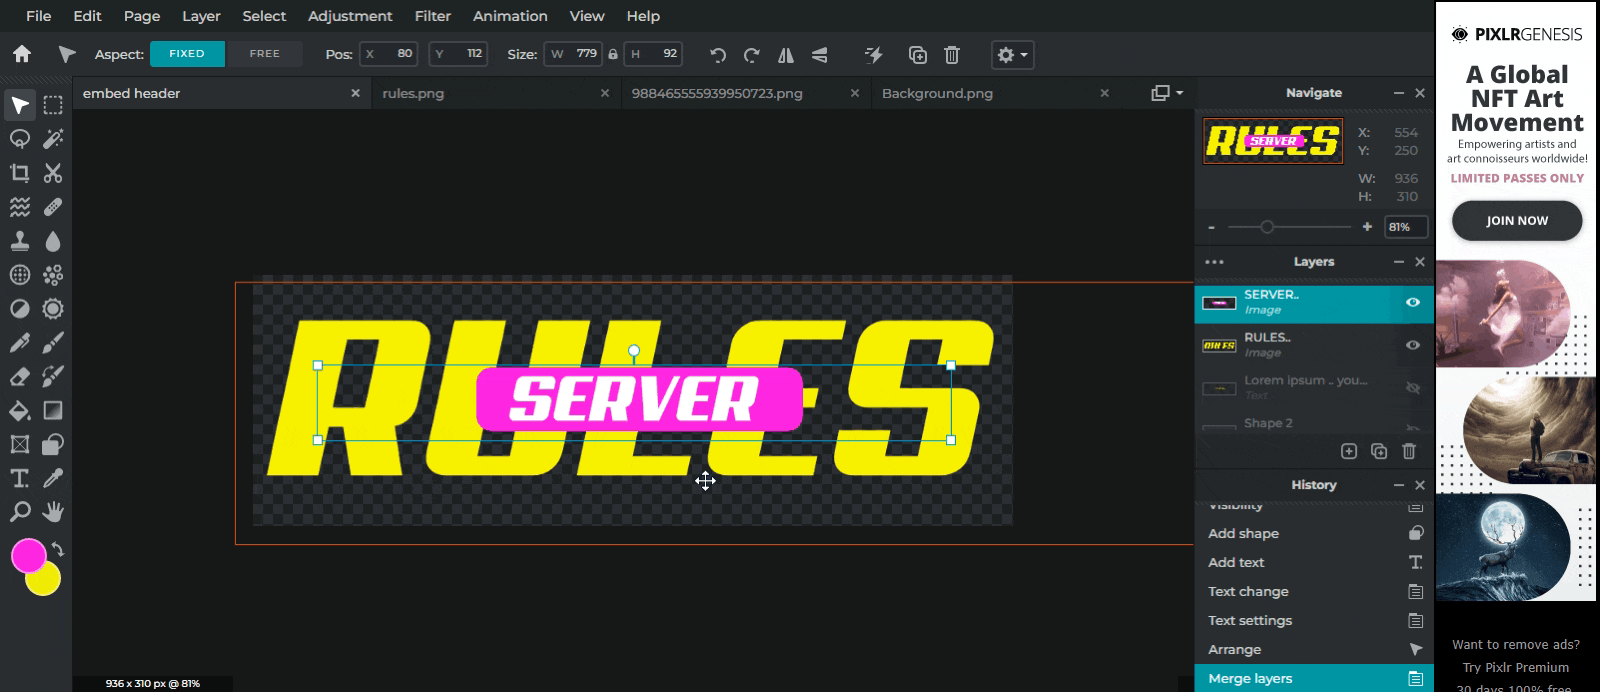
Some more examples:
Final note:
What you see here is just one way to do it. You can experiment yourself to create better results! When dealing with texts, it is all about expressing what you think through your typography.
The design and colour choice totally depends upon your server theme.
Pixlr being a free tool is limited but can totally be used as a fast, pocket friendly alternative to paid services.